Why chips turn into cracks in winter
A chip is a small void with sharp edges in a sheet of glass under tension. Anything that makes one part of that sheet expand or contract faster than the part next to it concentrates stress at those edges, and the chip grows.
Winter is full of exactly that. The glass sits at ambient overnight, you start the car and aim hot air at the inside of it, and the inner face warms while the outer face is still at 20 F. Add a pothole, a door slam or a scraper leaning on the damage and a chip you have been ignoring since October becomes a line across your field of view.
That is the honest case for these kits. They are not a cosmetic product. They are a way of stopping the spread before the cold finds the weak point, and every maker here frames them that way.
How we judged these
We have not repaired a windshield with each kit under controlled conditions, so we ranked them on the things their makers publish - which, in this category, is unusually specific and unusually useful.
1. The published damage limit. Every kit states a maximum size and, in two cases, a shape. This is the single fact that decides whether the kit on the shelf is any use for the damage on your car.
2. The temperature the glass has to be. Resin has to flow into a break before it cures. One of these kits publishes the window; the others do not, and that gap is worth knowing about before you are outside with a syringe in February.
3. How it cures, and what that needs from the weather. All three cure in sunlight. A short winter day with heavy cloud is a real constraint on a job you can only do once.
4. Whether the maker is honest about the result. Two of these publish, in their own instructions, that a mark will remain. We rate that highly, because the alternative is a page of reviews from people who expected the damage to vanish.
What each maker publishes
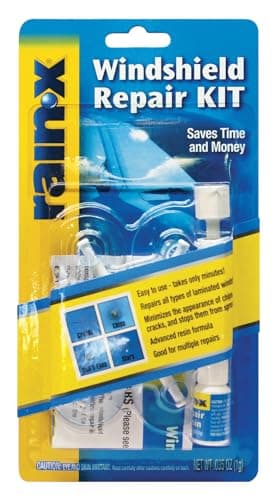
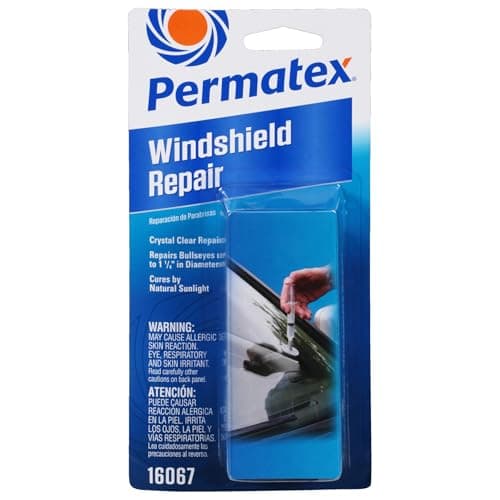
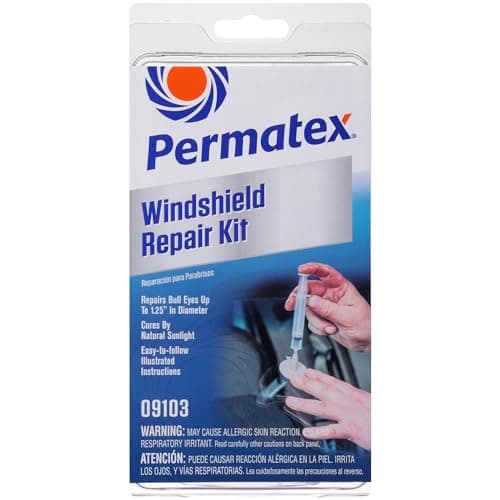
Published limits and conditions for the three repair kits | Permatex 09103 | Rain-X 600001 | Permatex Bullseye 16067 |
|---|
| Damage size | Up to 1 1/4 in diameter | Round up to 1 in; cracks up to 12 in | Bullseye up to 1 1/4 in |
|---|
| Damage shape | Chips and bullseyes | Chips, cracks and bullseyes | Bullseye only |
|---|
| Glass temperature | 50 F to 75 F | Not published | Not published |
|---|
| Where to work | In the shade | Not published | Direct sunlight to cure |
|---|
| Cure | Sunlight: 15 min direct, 1 hr cloudy | Curing strips, sunlight | 15 min direct sun, 1 hr hazy |
|---|
| Published result | "May not completely remove blemish" | Minimizes appearance, stops the spread | "A shadow... may still be visible" |
|---|
Read the bottom row twice. Both Permatex kits tell you, in their own published instructions, that you will still see something afterward. That is the correct expectation for every kit on this page, and it is why we rank the one that says so most clearly at the top.
The temperature window nobody plans for
Permatex publishes what the job actually needs: windshield temperature between 50 and 75 F, worked in the shade, then cured in sunlight. That combination is straightforward in September and genuinely awkward in January, when the glass outside is at 25 F and the only warm place is a garage with no sun in it.
There are two honest ways around it. Do the repair in the fall, on the chip you have been ignoring — which is the whole argument for keeping a kit in the glovebox rather than buying one after the crack appears. Or warm the glass gently and evenly first: park in a heated garage until the windshield itself has come up to temperature, work there, then move the car into daylight to cure.
What you should not do is aim a heat gun or a defroster blast at one spot of cold glass to get it into range. That is the same thermal stress that spreads chips in the first place.
Skip this
Skip the kit if the damage is in your line of sight
Every repair leaves some optical distortion where the resin sits. Out at the edge of the glass that is irrelevant. Directly in front of the driver it is a permanent smear in the exact place your eyes live on a dark, wet road.
Two other cases belong to a windshield shop rather than a syringe. Damage that has gone through more than one layer of the laminate — Rain-X publishes plainly that its kit will not repair that — and any crack that reaches the edge of the glass, where the windshield does structural work in a rollover.
A repair is also a one-shot job. Once resin has cured badly in a break, a professional has far less to work with. If the damage is near the limits, that is an argument for the shop rather than the kit.
Doing it properly, in the order that matters
- Do it soon. Rain-X's own guidance is to repair before dirt and water get into the break. A chip that has been full of road grime and washer fluid for a month will not fill cleanly.
- Keep the damage dry. Water in the break is the most common reason a repair goes cloudy. If it has been wet, give it a dry day, or dry it with the car's own heat before you start.
- Get the glass into the published range if your kit publishes one, and work in the shade so the resin does not start curing while you are still setting up.
- Then cure it in the sun for the stated time, and remember the cloudy-day figure is four times longer.
What we would buy
For most chips: the Permatex 09103. It covers the widest range of chip shapes up to 1 1/4 inches and it is the only kit here that tells you what temperature the glass needs to be.
If you have a crack rather than a chip: the Rain-X kit is the only one on this page sold for cracks, up to 12 inches. Set your expectations to "stop it spreading" rather than "make it vanish".
If it is a clean round bullseye: the Permatex Bullseye kit is the simplest procedure of the three, and its label is admirably blunt that a shadow will remain.
And whichever you buy, buy it early. A kit in the glovebox in October is a repair; a kit ordered in January is usually a windshield. It belongs on the fall checklist next to the wiper blades and the washer fluid.